
Scaniverse to 2D Floor Plan: The Ultimate Guide to Professional Blueprints
The days of fighting with a long metal tape measure and a messy notepad are over. If you are an architect, a real estate agent, or a home builder, you know the "old way" of measuring is slow. It also causes mistakes. One wrong number can ruin a whole design.
Ready to start your project? Skip the hard work by hand and Contact Us Today for a pro drawing.
Welcome to the age of 3D scanning. With apps like Scaniverse, your phone is now a strong measuring tool. But while a 3D model looks cool, you cannot give a 3D shape to a city office or a cabinet maker. You need a clean, flat drawing.
This guide will show you the easy steps to turn a Scaniverse scan into a 2D floor plan for professional use.
Why Use Scaniverse for Floor Plans?
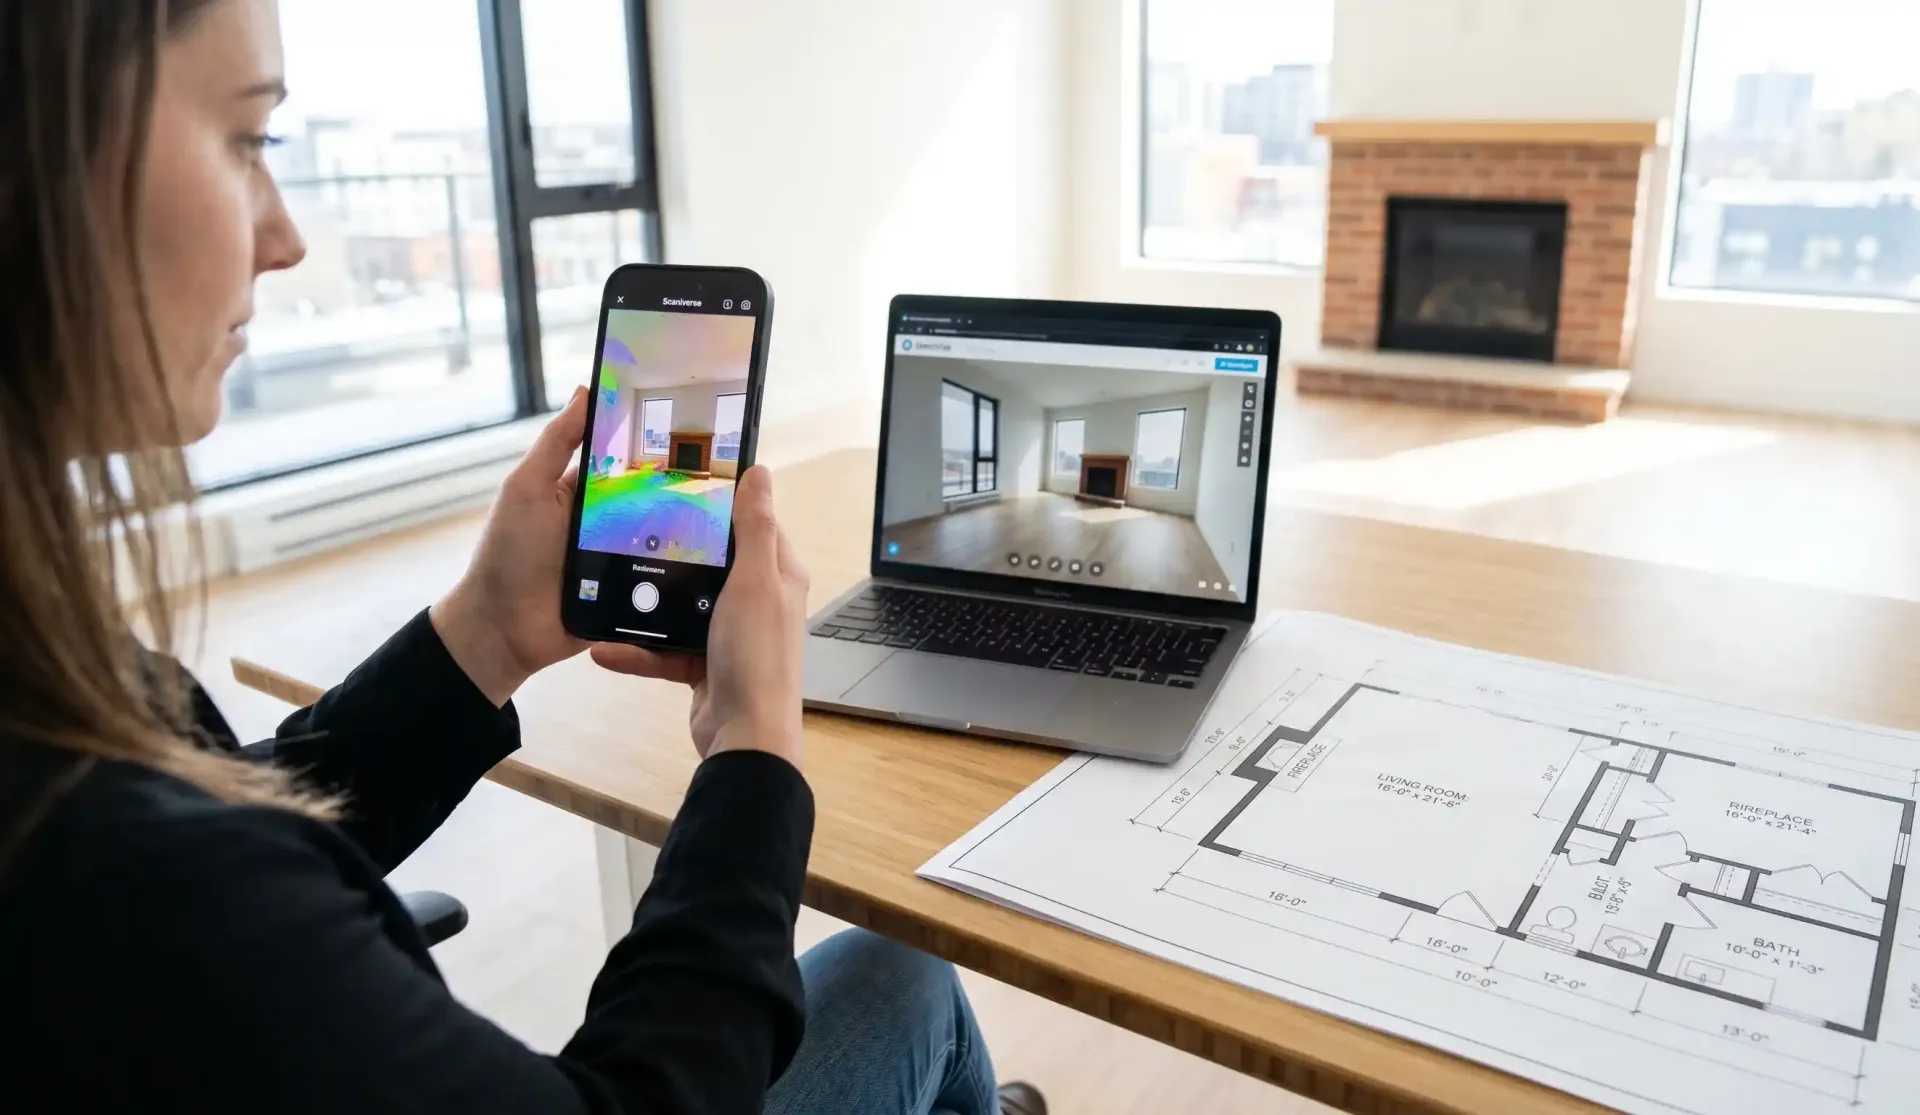
Scaniverse makes 3D scanning easy for everyone. By using the laser sensor in new iPhones and iPads, it captures the shape of a room with great detail.
The main problem? A 3D scan is rough data—it is made of thousands of tiny dots. A professional blueprint needs perfectly straight lines, exact corners, and standard symbols. Our process fixes this gap. We turn your raw data into a Scaniverse to 2D floor plan that is ready to use. If you need other types of technical drawings, feel free to look at our full range of drafting services.
Step 1: The Perfect Scan
To get a great 2D output, you need a great input. To make sure your Scaniverse to 2D floor plan is exact, follow these "Golden Rules" of scanning:
- Clear the Path: You do not need to move every chair. Just make sure the spots where the walls meet the floor are easy to see.
- Steady Pace: Move like you are recording a movie. Quick, shaky moves can cause errors in the data. This makes straight walls look curved.
- The Overlap Rule: Make sure you overlap your scanning path. If you move from the living room to the kitchen, scan the doorway a lot to "stitch" the two rooms together.
- Check Your Work: Use the "Splatting" or "Area" mode in the app to make sure there are no holes in your digital walls.
Step 2: Uploading to Sketchfab
When your scan is done, you need a way to share it with our drafting team. We use Sketchfab to view models.
Why Sketchfab? It is like a video player for 3D models. Instead of sending a huge file that crashes an email, you just send a simple web link.
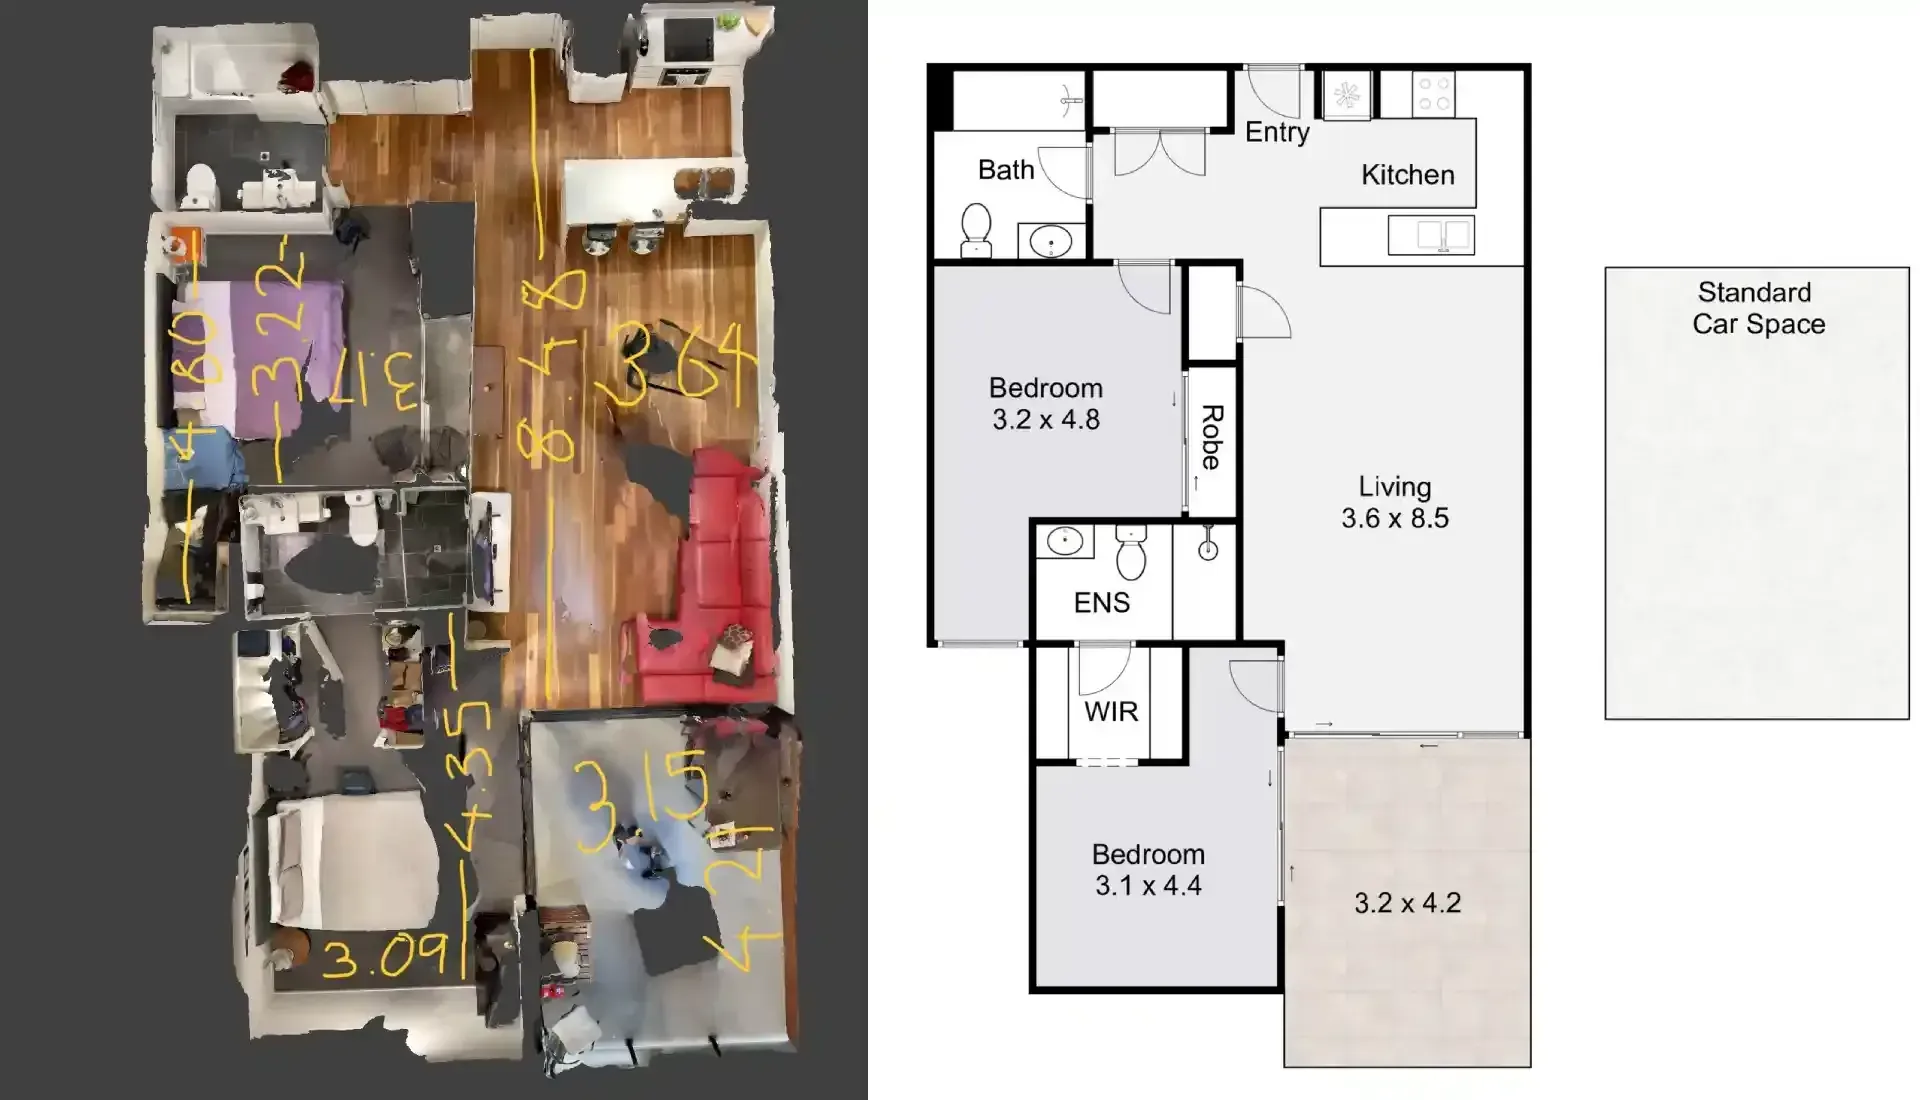
When we get your Sketchfab link, we can view the model from straight above. This perfectly flat view is the first step in creating your Scaniverse to 2D floor plan.
Step 3: Adding the "Human Touch" (Sketches & Measurements)
Laser scanning is amazing, but it is not magic. It can struggle with shiny things like mirrors or very dark furniture. To promise a "perfect" floor plan, we ask for a simple top-view sketch.
Pro Tip: Your sketch does not need to be art. A simple "box and line" drawing on paper works fine.
What to put in your sketch:
- Room Names: Write down which room is which (Kitchen, Master Bed, etc.).
- Check Measurements: Use a tape measure to get 3 or 4 main sizes (like the total width of the house).
- Hidden Details: If there is a closet behind a closed door that you did not scan, write it on the sketch.
By mixing your Scaniverse scan with these hand-made notes, we can size the 3D model to be perfect.
Step 4: The Conversion Process
This is where the magic happens. Our team takes your Sketchfab model and your notes, and we start drawing.
We do not just "hit a button" and hope it works. AI tools often make "wobbly" lines. Instead, our pro drafters trace the scan data by hand. We put in windows, doors, and stairs using standard building symbols.
The result? A clean, sharp, and pro PDF or DWG file. It looks like it was drawn by an architect who spent days on-site.
The Benefits of a Scan-to-Plan Workflow
1. Speed and Efficiency
What used to take 8 hours of measuring by hand now takes 20 minutes of scanning. You can finish a walk-through before your coffee gets cold.
2. Remote Collaboration
Because the model lives on Sketchfab, you can share the link with builders or clients anywhere in the world. Everyone sees the exact same digital building.
3. Accuracy You Can Trust
By checking a Scaniverse to 2D floor plan against your hand-taken sizes, you remove the risk of "missing a wall." If something looks wrong in the drawing, we can just check the 3D scan to be sure. For harder projects, you may want to see our other 3D-to-CAD services.
Common Questions About Scan-to-2D Conversion
How long does the drawing take? Usually, once we have your Sketchfab link and sizes, we send your perfect 2D floor plan in 24 to 48 hours.
Can you handle buildings with many floors? Yes. You just give us a scan for each floor. We stack them up perfectly to make sure stairs and pipes match.
What file types will I get? We give you high-quality PDFs for printing, JPGs for real estate ads, and CAD files (like .DWG) for building design.
Conclusion: Upgrade Your Workflow
The move from a Scaniverse to 2D floor plan is the best trick for modern property pros. You get the speed of new tech mixed with the exact care of classic drafting.
Stop wasting time with clipboards and tangled tapes. Start scanning, send us your Sketchfab links and notes, and let us handle the hard drawing work.